
Stainless Steel Machining Guide: Reduce Work Hardening and Control Chips
Choose edges, coatings, coolant, and parameters for stainless jobs that heat up and work-harden easily.
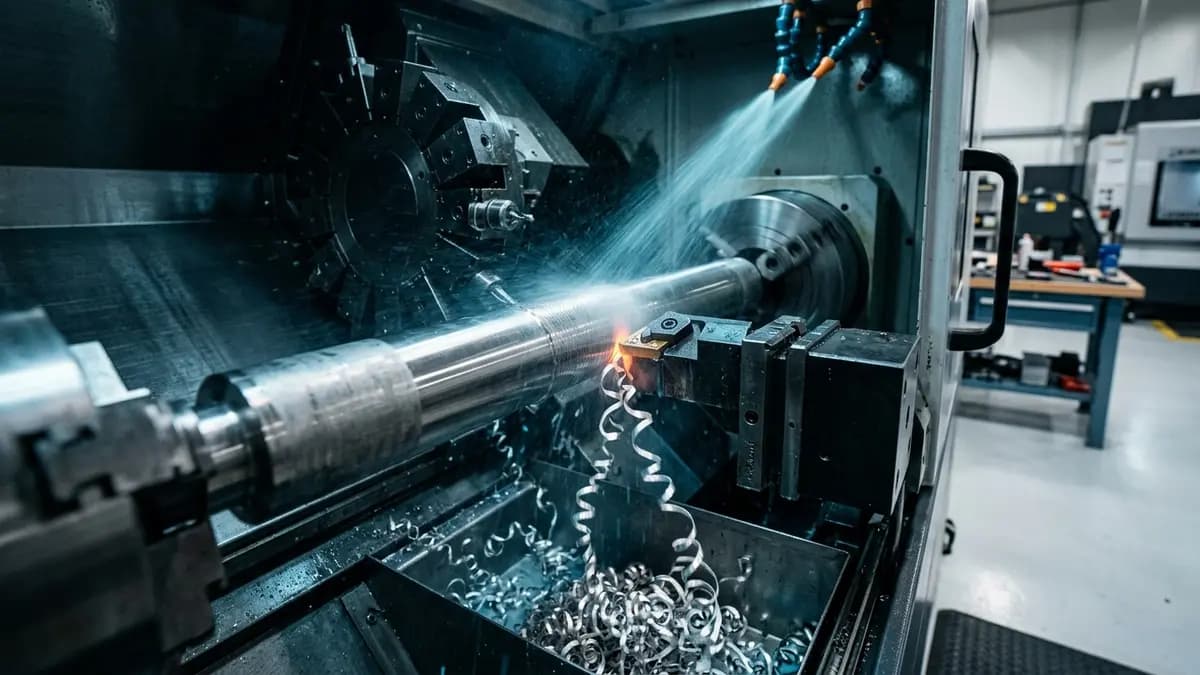
Quick Answer
Quick answer: avoid rubbing because it causes work hardening use a sufficiently sharp edge and stable coolant
Key Takeaways
avoid rubbing because it causes work hardening
use a sufficiently sharp edge and stable coolant
control chips before they wrap or scratch the part
Shop-Floor Decision Table
| Symptom | Likely Cause | First Action |
|---|---|---|
| Tool life is unusually short | High heat, cutting force, or runout | Check coolant, holder, overhang, then tune one parameter at a time |
| Surface finish is inconsistent | Chatter, built-up edge, or unsuitable feed | Read the surface pattern and cutting sound before changing speed/feed |
| Chips wrap or fail to evacuate | Geometry or chip load is outside its working range | Adjust feed/depth of cut or change chipbreaker/flute geometry |
Shop-Floor Check
Confirm material, hardness, and operation before selecting the tool
Check machine rigidity, holder, overhang, and workholding
Start from the middle of the tool maker's recommended range
Change one variable at a time and record sound, chips, spindle load, and finish
Stop tuning when tool life and surface quality are stable
Common Mistakes
- • Changing grade or tool immediately before checking runout and clamping
- • Changing several speed/feed values at once so the real cause is hidden
- • Copying parameters from another job without matching material, hardness, and coolant
When edge life drops, finish becomes unstable, chips get hard to control, or the machine stops too often for tool changes, do not start by asking which tool is cheaper. Start with Stainless Steel Machining Guide: Reduce Work Hardening and Control Chips, then read what the material, machine, holder, coolant, and parameters are telling you.
What to Check
- avoid rubbing because it causes work hardening
- use a sufficiently sharp edge and stable coolant
- control chips before they wrap or scratch the part
How to Apply It on the Shop Floor
On the shop floor, work through one issue at a time. Confirm material and hardness first, then check machine rigidity, holder, overhang, coolant, and clamping. If speed or feed needs tuning, change one variable and record the result so the team knows what actually helped.
Important Cautions
Use this article as a decision framework, not fixed cutting data. Before production use, compare it with the tool maker catalog, machine condition, and shop safety limits. If the case is unclear, send the current tool, material, operation, and problem details to CAGO for review.
FAQ
Should I change parameters or change the tool first?
Start by checking the setup: holder, runout, coolant, and workholding. Many machining problems are system problems, not only cutting edge problems.
Can this article replace catalog cutting data?
No. Use it as a decision framework, then confirm with the tool maker's catalog and the actual machine condition.